In order to start, you will need:
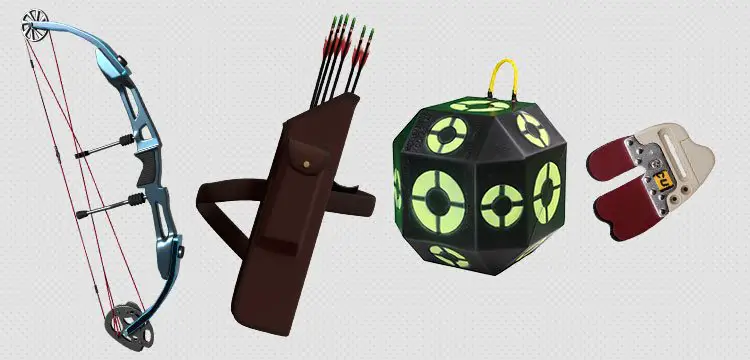
- a compound bow ( any brand will do)
- a set of arrows, not cut and fletched according to your manufacturer’s recommendations.
- a high-density foam block for shooting into
- a release to save your fingertips
PROPER SHOOTING STANCE
Table of Contents
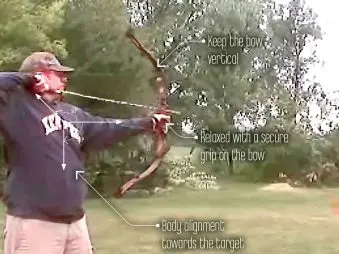
Your body should be perpendicular to the target you were shooting at. When holding a bow. A large key to success is to hold the bow vertical when shooting. Cocking the bow to either side could potentially impact of shots accuracy.
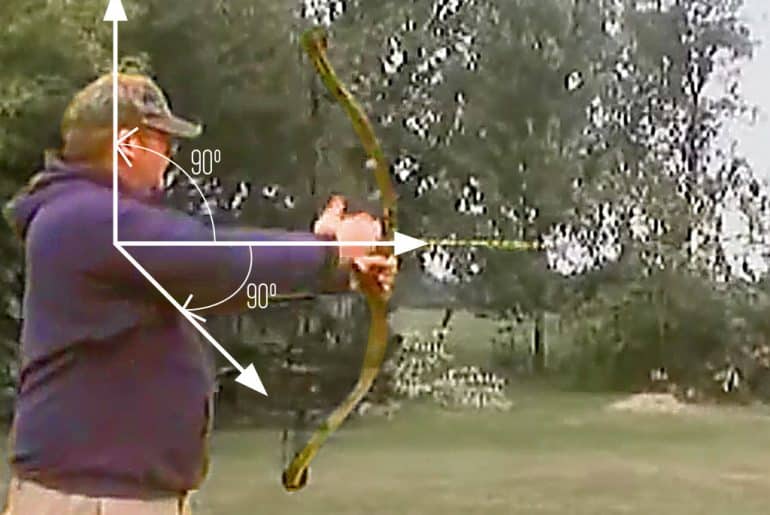
Also a relaxed, but the secure grip on the bow will eliminate a large amount of the shaking due to nerves. Pulling the compound bow string back can be a difficult task for someone who hasn’t practiced pulling back with the proper force needed to effectively drawback with little to no strain.
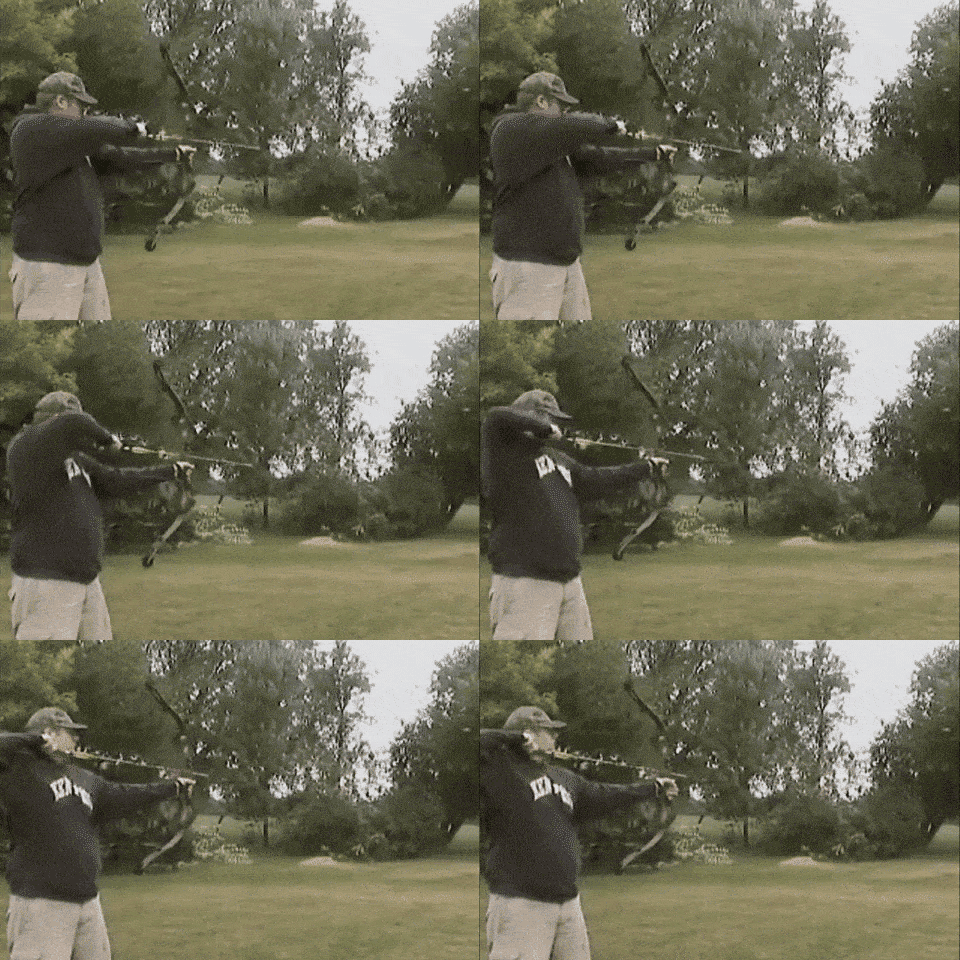
With the bow held in front of my body, I am able to draw the string straight back with ease. If you find yourself straining to pull your bow string back, you may have your bow weight set too high. Read your manufacturers manual for proper tuning.
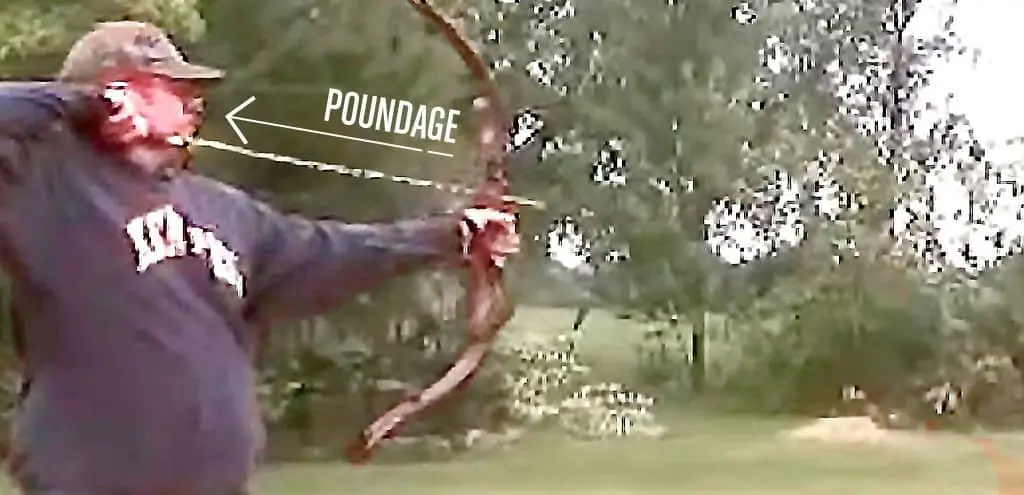
When you feel that you’re ready to begin shooting, remember the basics:
 Body alignment towards the target.
 - Keep the bow
vertical - Have a relaxed with a secure grip on the bow itself
After you’ve drawn back your bow to aim. Learn a technique that helps you relax and study the bow. For me, I like to take one deep breath in and release the string on the out-breath.
USING SIGHT PINS
For those of you who are new to the sport, you may be asking yourself how do I aim my compound bow in order to shoot an arrow. It’s very simple in fact – even though there are many different variations of sight pins, the concept should stay the same.
In this instance, I have a green pin separate ten yards which I have shown pointing at the target.
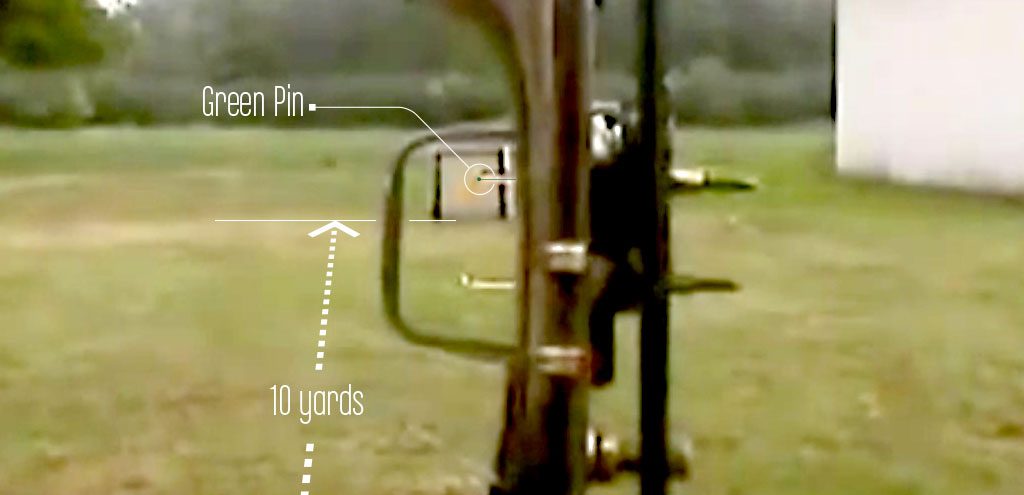
When you draw your bowstring back, you should find yourself looking through the peephole on the bowstring at which time your target and pins will come into view.
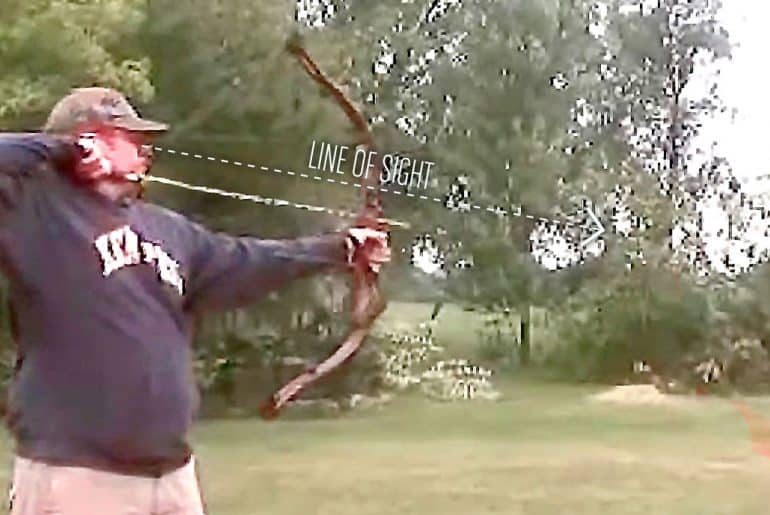
Once you have mastered this, it’s time to take your first shot.
Your first shot will often not hit the center of your target. Take a few additional shots and see if you notice a pattern forming. For example, you may find that all your arrows consistently fired a bit high and to the right, around one to three o’clock outside of the target.
In order to dial in my sights, I first must know how to adjust them. Often you must unscrew two nuts in order for the pins to move in either a horizontal or vertical manner.
Before you begin manipulating the pins on your sight, you must determine two things:
- Where are my arrow is consistently landing
- How do I adjust my pins to achieve an accurate shot
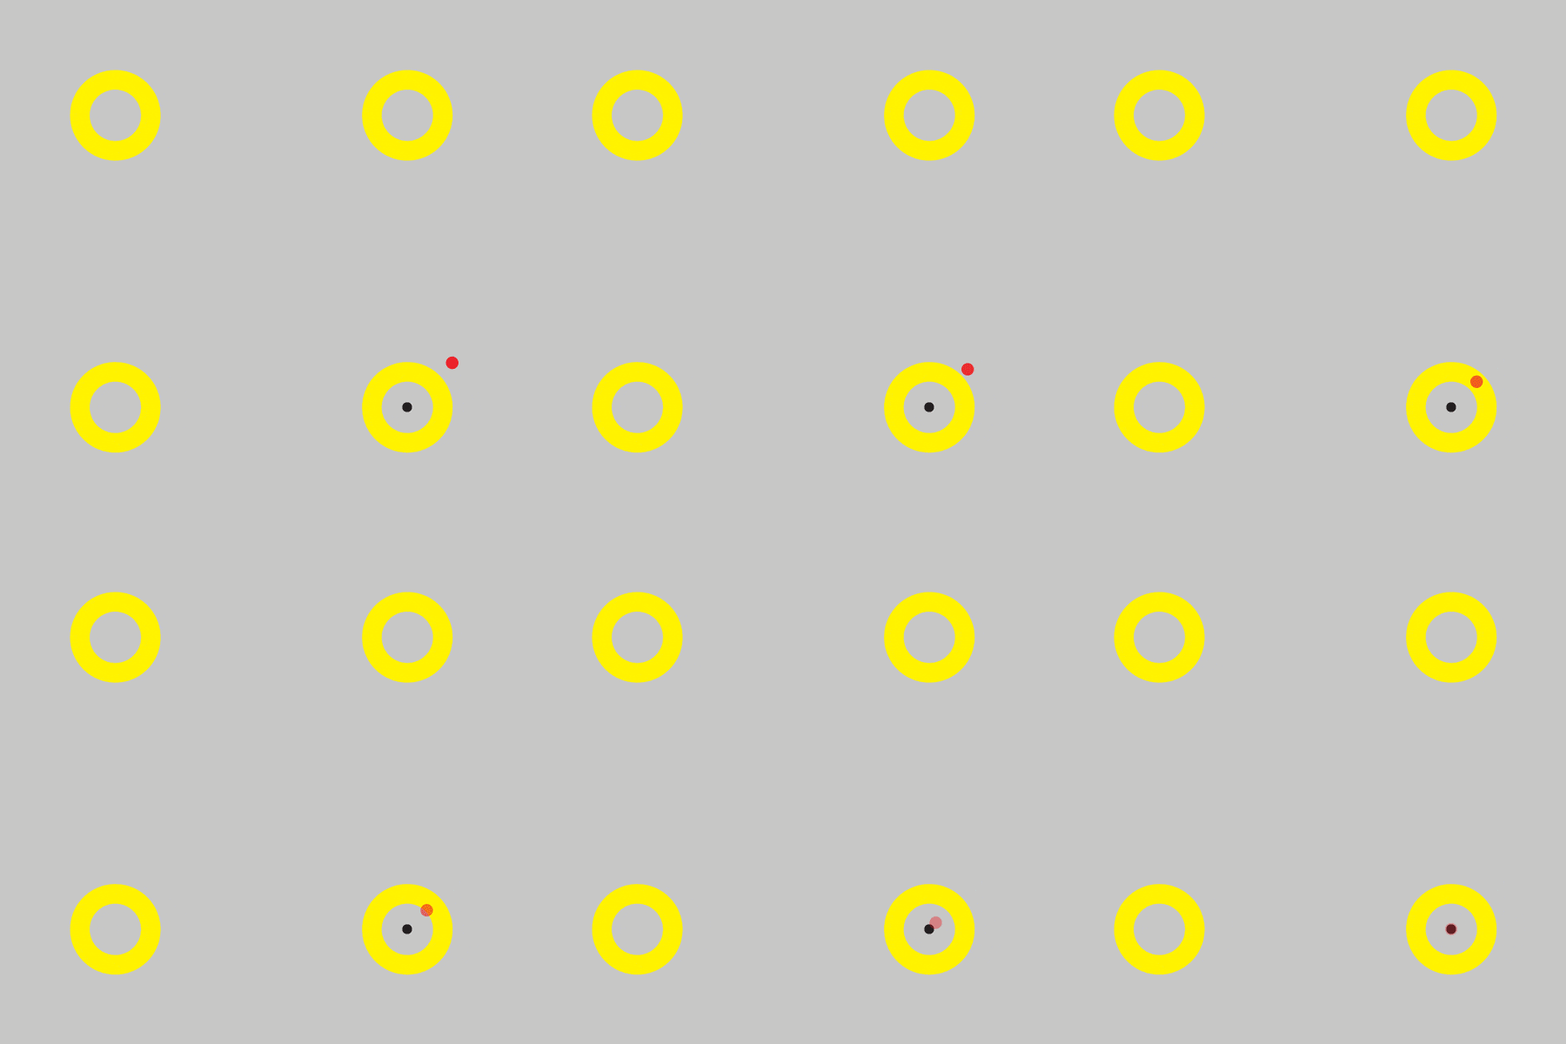
When I was aiming at the target, I was aiming right here on the black dot, but my arrows were hitting up here on the red dot.
In order for an arrow to fly true to your sight, essentially, you have to have the black dot and the red dot be one and the same.
The best way I have found to achieve this is to focus on the black dot, which again is where I was aiming it. So if my arrows are hitting about two inches high and about three inches to the right, by slightly readjusting the pin vertically on my bow (for which I have designated at ten yards), I have now taken care of the two-inch-high problem.
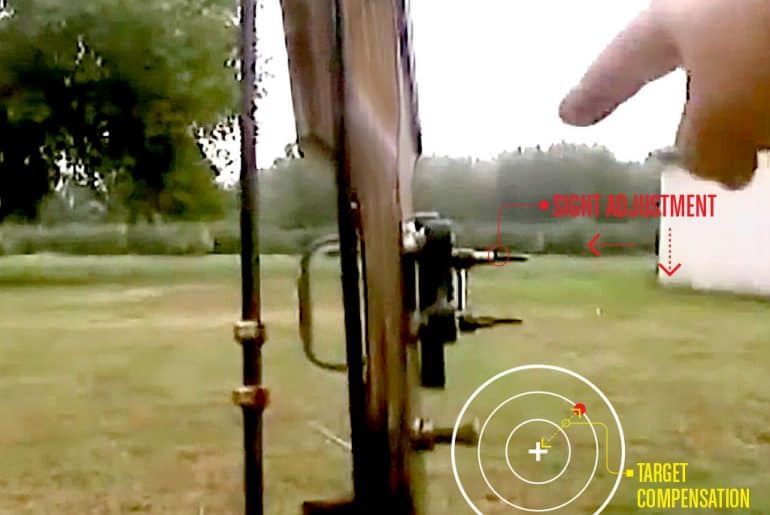
After tightening that nut down, proceed to fix the three inches to the right. In order to achieve that, slightly adjust the pin and bring it to the right. In doing so, the pin and arrow should now line up regardless of where you are aiming on the black.
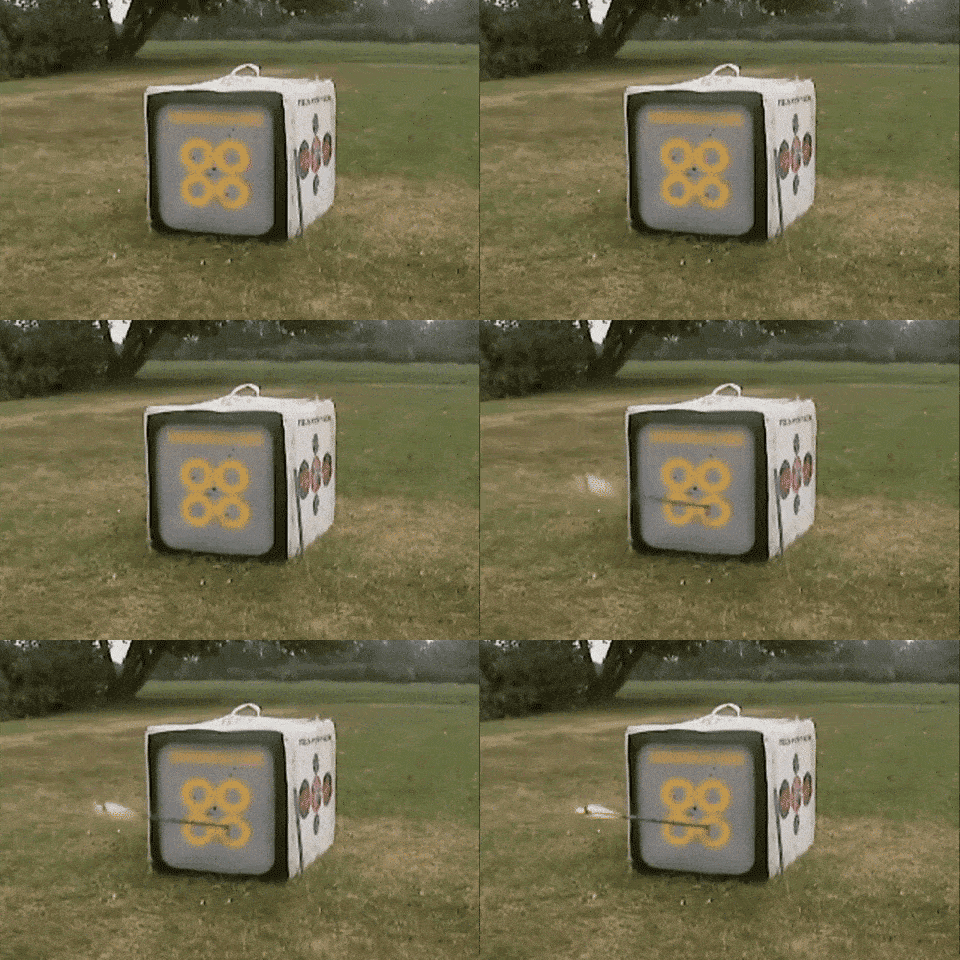
NOTE: Save yourself time and money, and pull your arrows straight out (not bent to either side) by the shaft and not the fletchings. This will keep your arrows straight for a longer period of time.
Source: Video
How to draw a Compound Bow properly
NOCKING AN ARROW
- Your release elbow should travel parallel to the grip arm and shoulders as you draw.
- Arrow Rest – Note the index feather of the arrow as it is positioned on the rest.
- Take a deep breath before the draw and hold as you pull.
- D Loop – Nock the arrow on the D Loop locked firmly to the release aid.
DRAWING THE ARROW
- Pull the string with your draw arm parallel to your grip arm and shoulders.
- Keep your grip hand firm and steady at nose height.
- Utilize the strength of your stronger muscles on your back instead of the muscles on your arms as you line-up the arrow with the target.
- Exhale as you release the arrow.
Frequently Asked Questions(FAQs)
What should I know before purchasing a compound bow?
When you’re learning, you need a bow that’s forgiving and simple to use. The speed of the bow is good, but it’s also touchy and magnifies errors. When purchasing a bow, you must include sights, a stabilizer, a wrist strap, and an arrow rest. Accessories may be purchased separately or as the part of a low-cost “ready-to-shoot” bundle.
How far can a 25-pound compound bow shoot?
A 25-pound compound bow shoots approximately 20 yards.
What happens if you shoot a compound bow without a release?
It might be difficult to shoot without a release due to the sharp angle of the compound bow. The draw weight of compound bows is almost double the weight of recurve bow. This implies that there is more tension on the fingers when drawing the bow, which reduces the comfort.


 Body alignment towards the target.



8 Comments
Pingback: How Heavy is a Compound Bow - Boss Targets Archery Bows
Pingback: The Ultimate Guide to Bow Quivers - Boss Targets
Pingback: Best Archery Backstop Nets for 2021 - Boss Targets
Pingback: Discover the Many Types of Bows - Boss Targets
Pingback: SAS Siege Compound Bow - Boss Targets
Pingback: What is the Ideal Draw Weight for My Bow?
Pingback: Compound or Recurve Bow – Which one is Best and Why?
Pingback: How to Shoot With Proper Archery Form - Boss Targets