
One thing you can do is to make your own DIY archery target. It will just take a couple of hours to make and you will have a target that you can use for a long time. In essence, you just need to stuff a box with some packing materials.
Below are the steps in making a DIY archery target.
Look for a big cardboard box: How to make a DIY archery target
Table of Contents
The minimum size should be 30 cm or 12 inches thick so the arrows won’t go through it. If you are using high draw weights or high-speed arrows, make it 46 cm or 18 inches thick.
You can decide what measurements should apply on other sides, but normally, 46 cm2 or 18 x 18 inches are the recommended dimensions for beginners and kids. Another thing to remember is to not follow this method unless you are using high-powered compound bows or crossbows.
Fill with plastic bags or shrink film
You will need a large amount of shrink film. A lot of stores actually throw this away so you can ask them if you can get their shrink wrap for free. Alternately, stuff the box with plastic bags and fill the box as much as you can.

Seal the box using tape
Close the box completely using duct tape or packing tape.
Examine the target by testing it
Any open space is a good location since no one is standing nearby. Move closer than your usual distance to be safe. If the arrow shoots right through the box, get a bigger one and ensure that it has a securely packed staffing. Also, arrowheads like field points work well for shooting a target, so use them. Broadhead arrows are not recommended since they can get broken.
If you want a more durable target, here are the steps:
Get a wood frame
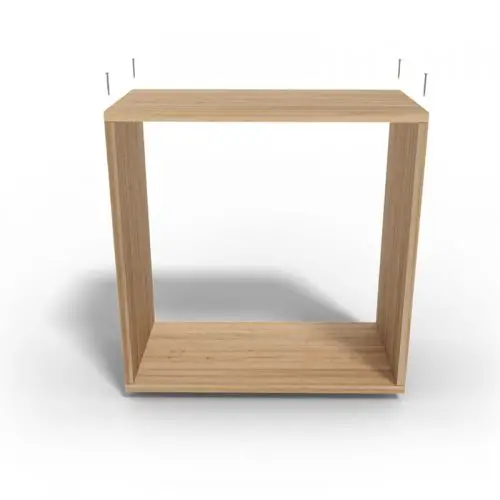 It is best to choose a lumber frame that is hollow and doesn’t have a back or front side. What you need is a 38 x 286 mm or 2 x 12 inch piece of wood in order for the target to be deep enough to stop arrows. You can decide whatever height and width you like. However, do not go bigger than a shooting zone of 0.9 m2 or 3 ft2 if you want it to be portable.
If you want the target to last a long time even when placed outside the house, protect the target from any kind of intense weather or use kiln dried boards. In addition, the sides can be made of longer boards so they can be extended to the shooting range. As such, you can attach casters or put the target at a higher position for easier portability.

Want to use this infographic on your site?
Make a hole for stuffing
Cut a big hole in the board to form the frame’s upper side. You will then fill the box through the hole you have cut.
Bolt the wood together
The frame must be locked, and you can do this by using wood screws measuring at least 9 cm or 3½ inches long. Create a more durable frame by threading both frame sides. Use an extra-large washer first to tighten them, then an ordinary washer afterward. Tighten once more as soon as you finish.
Fasten on poultry netting
Use chicken wire to wrap both frame side openings so the stuffing stays in place. Cover it all over the left and right borders and staple the whole frame with it repeatedly.

Now, there will come a time that the poultry netting will swell due to the force of the arrows. In order to reduce repacking, you can use tie wires (around three to four) on the chicken wire’s interior as support. However, since tie wires are not as durable, others prefer nylon. You can also use a number of thick cardboard layers to strengthen the poultry netting.
Gather stuffing
You will need lots of stuffing in order to make an arrow stop and not go through the target. You can get some at stores selling rags or you can ask for any leftover material at retail stores.

Make sure the stuffing is sufficiently compressed
Smaller stuffing scraps can be pushed in from above or through the poultry netting if you see a gap. Use a mallet or any object with the same weight to repeatedly compress as you stuff.
Attach the surface for shooting
Attach the cover underneath planks that can be easily removed and have dimensions of 19 x 84 mm or 1 x 4 inches.

Want to use this infographic on your site?


2 Comments
Pingback: Can a Left Eye Dominant Person Shoot a Right Handed Bow?
Pingback: 5 Different Types of Archery Targets for the Backyard - Boss Targets